- HOME
- Infrared Sauna Benefits
- DIY Essential Oils
Make Your Own Sauna Essential Oils

Welcome to a sensory journey where you become the aromatherapeutic artisan of your relexation. This guide will help you create your own essential oils to enrich your home infrared sauna sessions.
A quick tour of the guide
- What is aromatherapy
- Choosing your essential oils
- Materials and preperation
- Crafting your aromatherapy oils
- Recipes for sauna aromatherapy blends
- Using your oils in the sauna
- Storage and maintenance
What Is Aromatherapy?
Aromatherapy captures the essence of plants to support health and well-being. It uses easily evaporating plant oils, known as essential oils, for therapeutic purposes. These oils are typically extracted from flowers, leaves, bark, or roots of plants that possess distinctive therapeutic properties.
When applied in an infrared sauna, the heat can amplify the effects of essential oils, which may relax you, boost your mood, cognitive function, help you destress, and physical well-being.
Choosing Your Essential Oils
Selecting the right essential oils for your purpose is the first important step to DIY aromatherapy. Your wellness goals should steer this choice—relax with lavender and chamomile, invigorate with lemon or bergamot, or clear the air with eucalyptus and peppermint.
We advise you to choose "100% pure essential oil" labels for quality assurance and consider starting with established blends before creating your own. Keep in mind that the sauna's heat amplifies scents, so select oils that are heat-friendly.
For details and blending advice, read our article on 'The Best Essential Oils To Use In Your Infrared Sauna.'
Materials and Preparation
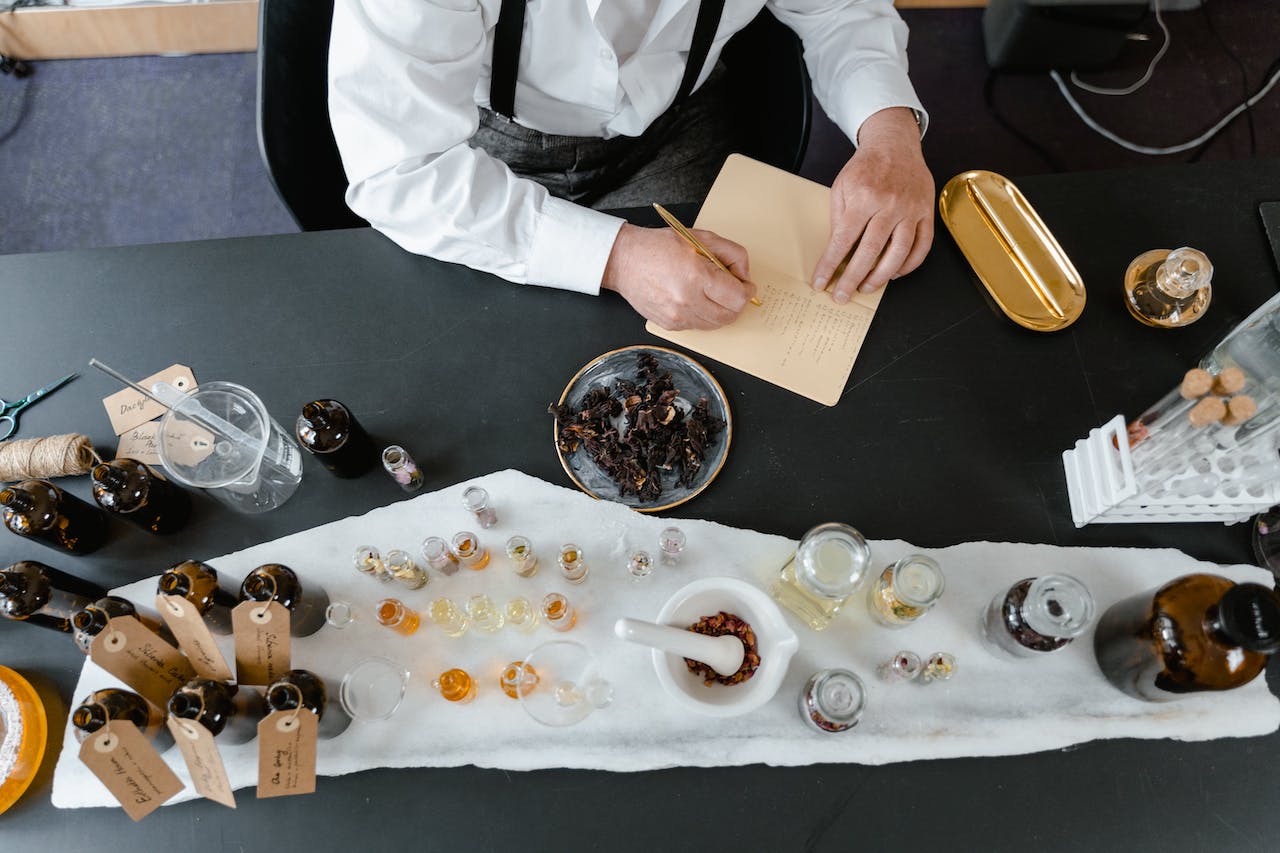
Before you get started crafting aromatherapy blends, check if you have all the necessary materials on hand.
Gathering Materials
- Carrier Oils: Choose from coconut, jojoba, or sweet almond oil for diluting essential oils.
- Essential Oils: Select based on desired benefits and sauna suitability.
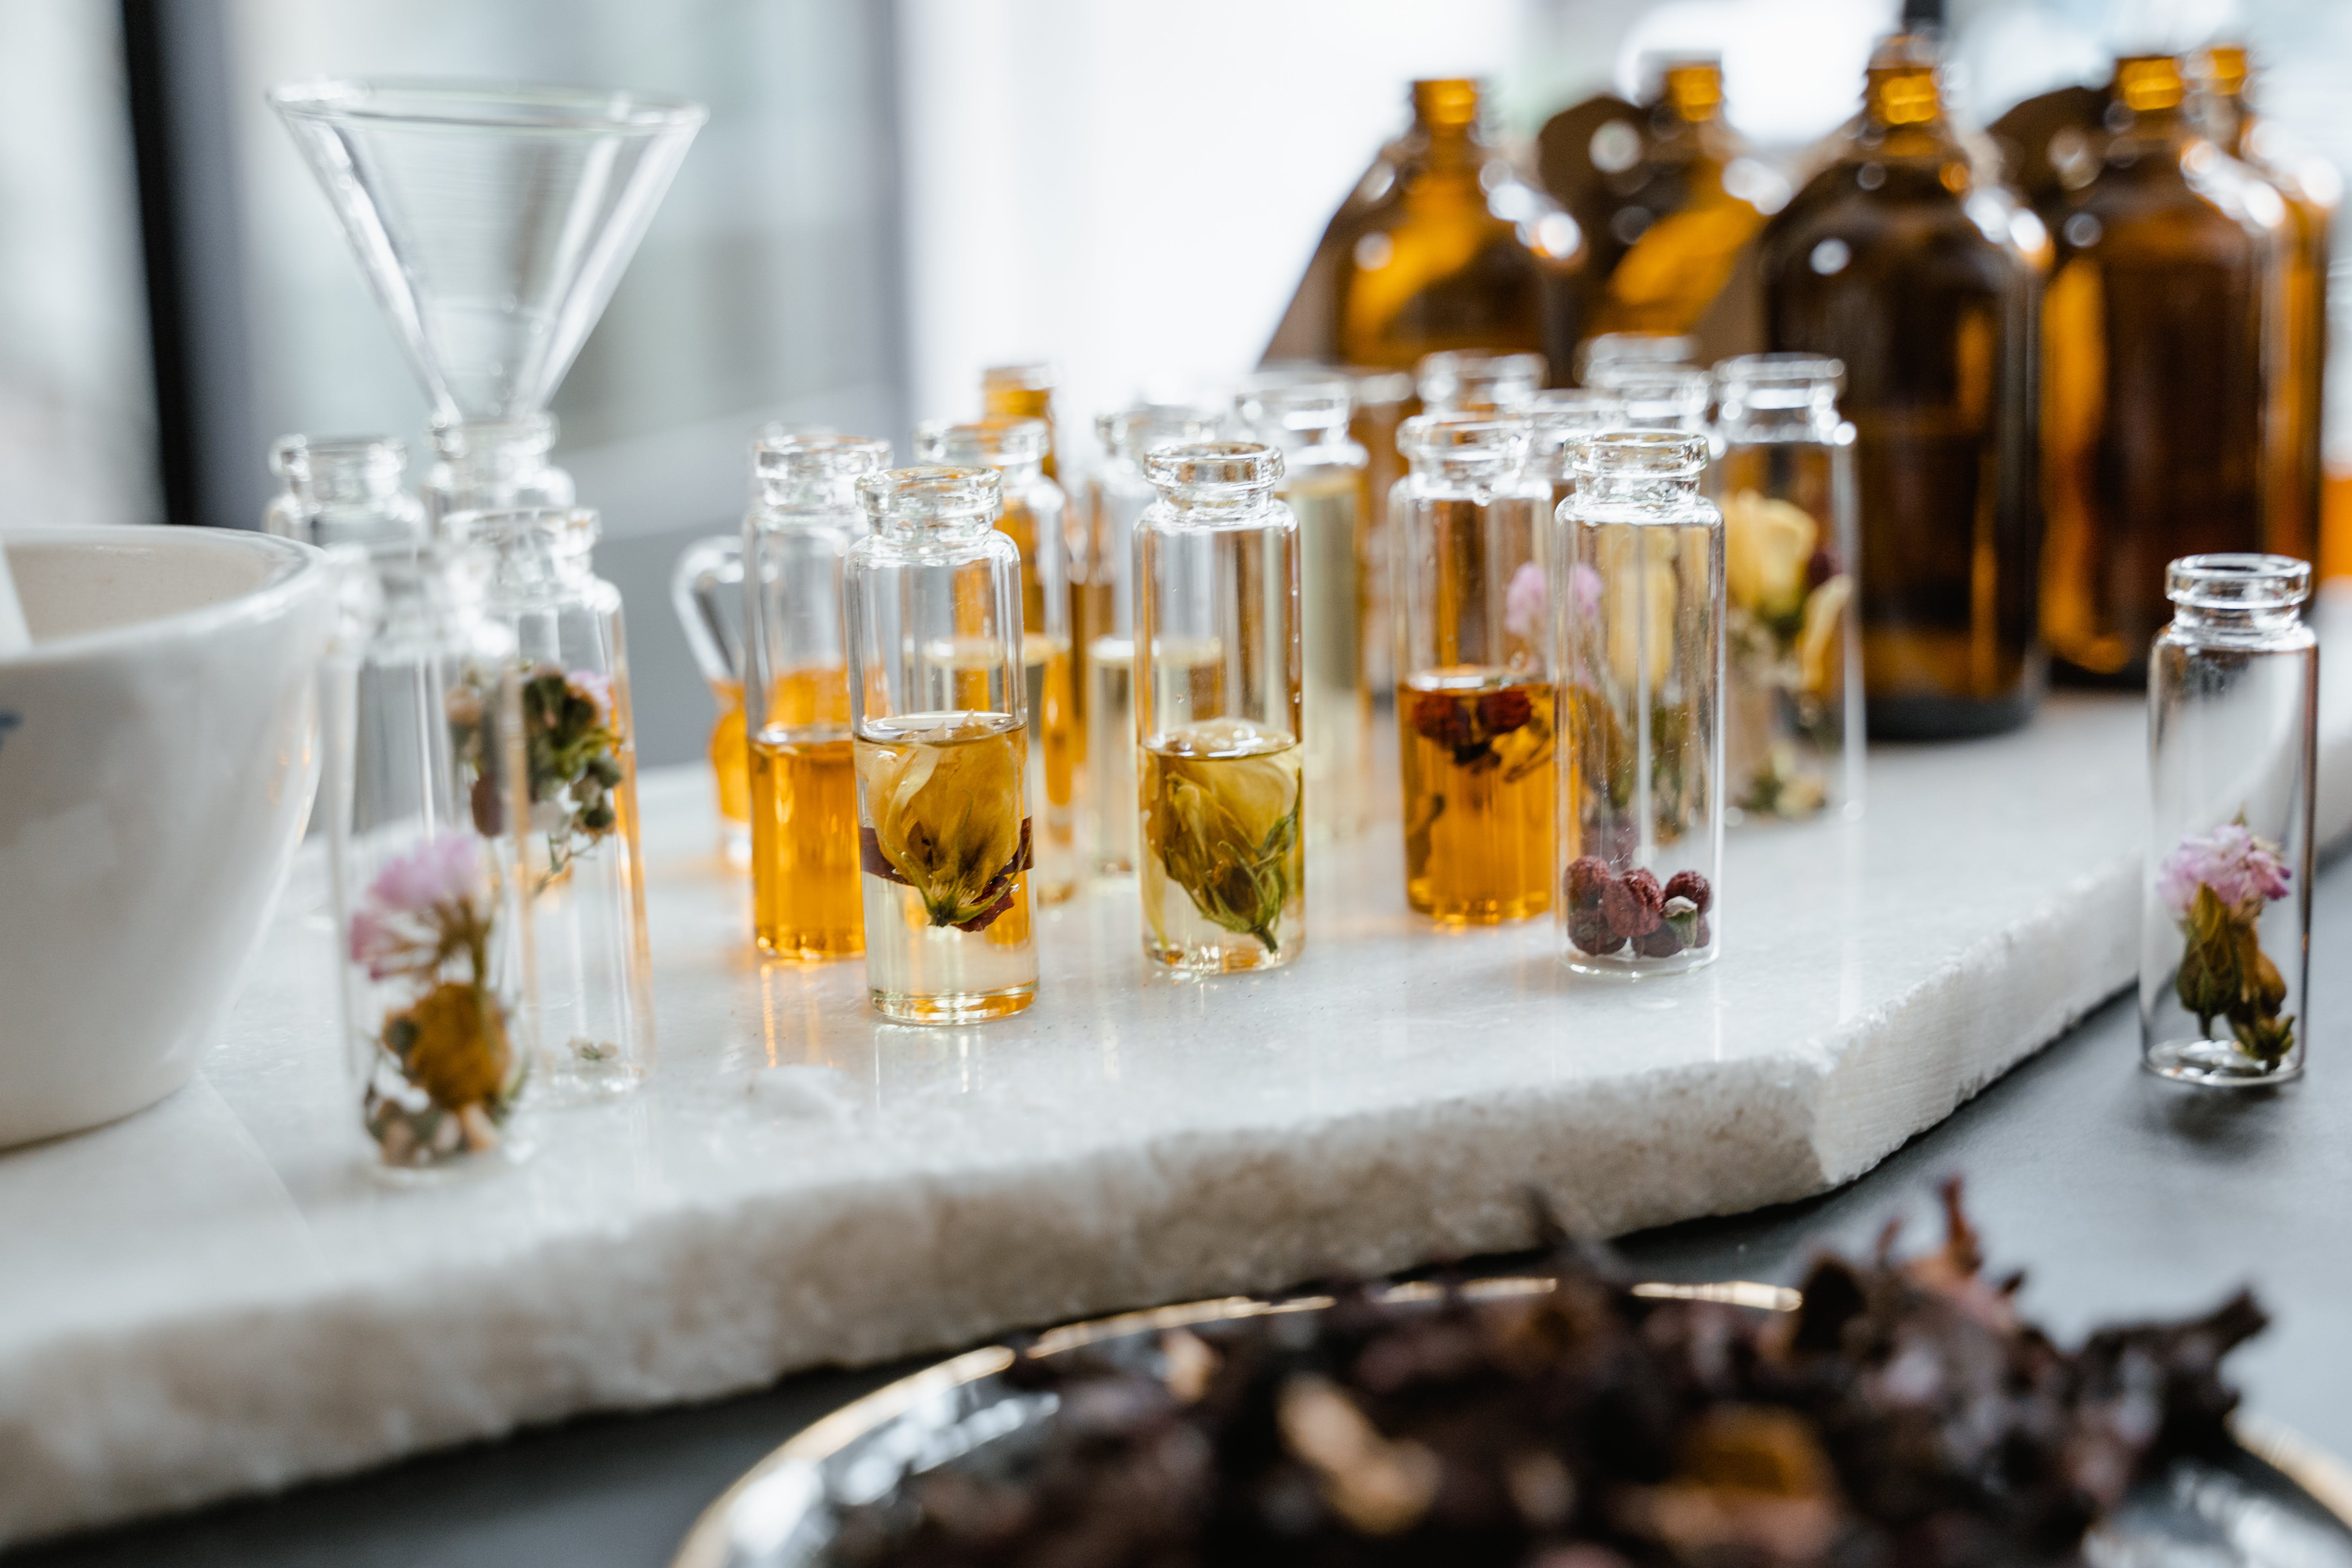
- Storage Containers: Acquire dark-colored glass bottles or stainless steel containers to protect the oils from light.
- Measuring Tools: Prepare pipettes, droppers, and small measuring cups for precise blending.
- Labeling Supplies: Have labels and a permanent marker ready for organization.

Setting Up Your Workspace
- Mixing Vessels: Use a clean, dry mixing bowl or beaker.
- Stirring Tools: Gather glass stirring rods or stainless steel spoons.
- Safety Gear: Wear gloves and ensure the workspace is well-ventilated.
Safety Precautions
- Skin Protection: Always wear gloves when handling essential oils to prevent irritation.
- Avoiding Contamination: Keep your work area and tools clean to maintain oil purity.
- Sunlight Sensitivity: Work away from direct sunlight, especially with photosensitive oils like citrus.
Preparation Steps
- Clean Workspace: Ensure your blending area is clean and free of contaminants.
- Organize Materials: Lay out your carrier oils, essential oils, measuring tools, and containers for easy access.
- Safety Check: Double-check that you have gloves on and that your workspace is properly ventilated.
Crafting Your Aromatherapy Oils
Crafting your own aromatherapy oils is where creativity blends seamlessly with science. In this section, we'll guide you through the essential steps and knowledge required to blend your unique essential oils, ensuring a safe and effective infusion of scents for your home infrared sauna.
Step 1: Choose Your Essential Oils
Begin by selecting essential oils that align with your desired wellness goals. As discussed in Section 2, specific oils cater to relaxation, invigoration, or respiratory support. Choose those that resonate with your sauna experience.

Step 2: Understand Carrier Oils
Carrier oils play a crucial role in safely diluting and applying essential oils in your sauna aromatherapy blends. Familiarize yourself with these oils to make informed choices for your sauna experience.
Coconut Oil
- Coconut oil is solid at room temperature but melts upon contact with the skin, making it ideal for massage and topical application.
- It is easily absorbed, leaving the skin feeling soft and moisturized.
- Coconut oil has a mild, sweet aroma that complements many essential oils.
Sweet Almond Oil
- Sweet almond oil is light and absorbs well into the skin, making it suitable for various skin care applications.
- It is rich in vitamin E, making it beneficial for skin health and hydration.
- Sweet almond oil has a neutral scent, allowing the aroma of essential oils to shine.
Jojoba Oil
- Jojoba oil closely resembles the natural sebum produced by the skin, making it an excellent choice for facial applications.
- It is non-comedogenic, meaning it won't clog pores.
- Jojoba oil has a long shelf life and remains stable over time.
Olive Oil
- Olive oil is heavier than some carrier oils, making it suitable for intensive moisturization.
- It contains antioxidants like vitamin E and polyphenols, offering additional skincare benefits.
- Olive oil has a distinct earthy scent that can influence the overall aroma of your blend.
Grapeseed Oil
- Grapeseed oil is lightweight and absorbs quickly, leaving the skin feeling silky.
- It contains antioxidants such as vitamin C and E, contributing to skin health.
- Grapeseed oil has a neutral scent, allowing essential oils to take center stage.
If you know the unique properties of carrier oils, you can pick the one(s) that best suits your needs and has the desired texture for your DIY blend. Experimentation and personal preference will guide your selection, so the carrier oil fortifies the effectiveness and overall enjoyment of your DIY essential oils.
Step 3: Determine Proper Dilution
Mastering the art of dilution is fundamental to create blends tailored for your sauna experience. To make sure your blends are safe and effective, let’s break this step down further:
Understanding Dilution Ratios
- Different essential oils have different potency levels. Learn the recommended dilution ratios based on the specific essential oils you've chosen.
- Recognize that for sauna aromatherapy, it's essential to maintain gentleness on the skin, as the sauna's heat can promote the absorption of oils throught the skin.
Consideration for Skin Sensitivity
- Be mindful of individual skin sensitivity. Some individuals may require more diluted blends, especially when applying essential oils directly.
- Take potential skin reactions or allergies into account when you determin the dilution level.
Blending Precision
- Invest in accurate measuring tools, such as graduated cylinders or pipettes. You’d want your measurements to be precise.
- Keep a record of your blend's formulation, including the number of drops of each essential oil and the amount of carrier oil used.
Skin Patch Testing
- Prior to full-body application, conduct a skin patch test with a small amount of your blend on a small area of skin to check for adverse reactions.
- This step is particularly important if you are going to use new essential oils or have sensitive skin.

Step 4: Master Mixing Techniques
To achieve a harmonious blend of essential oils is an art that requires you master a number of mixing techniques. The order in which you add essential oils to your carrier oil can impact the final scent profile; start with the base notes, follow with the middle notes (heart notes), and finish with top notes. If you layer them like this, you create a well-rounded and lasting aroma.
Top Notes: These are the first scents you perceive and tend to be fresh and uplifting. Bergamot Oil, Citrus Oils (Lemon, Orange, Grapefruit), Peppermint Oil and Eucalyptus Oil are top notes.
Middle Notes: These come after top notes and provide body to the blend, often with floral or herbal scents. Most common heart notes are Lavender Oil, Chamomile Oil and Tea Tree Oil
Base Notes: These are the foundation of the blend, offering depth and longevity, often with earthy or woody scents. Hereby you can think of Birch Oil, Cedarwood Oil, Frankincense Oil, Sandalwood Oil and Pine Oil.
These categories are based on the typical aroma characteristics and evaporation rates of the oils. The precise grouping of aromas can vary slightly depending on factors such as the specific oil's source and quality. However, this arrangement should be a useful starting point for you to create well-balanced aromatherapy blends for your sauna. Learn by testing how to balance these notes to develop layered and harmonious fragrances.
Stirring
- Understand that gentle stirrs or swirls are often more effective than vigorous mixing.
- Forceful mixing can introduce excess air, which may change the blend's scent and cause oxidation.
- Stir your blend slowly and methodically to maintain the integrity of the oils.
Consistency
- Aim for consistency in your blends by following precise measurements and recording your formulations.
- Consistency allows you to reproduce your favorite blends accurately and ensures a reliable sauna experience every time.
Experiment
- Don't hesitate to experiment with different essential oil combinations and ratios to find your signature sauna scent.
- Keep records of your experiments, noting what worked and what didn't, to refine your skills.

Step 5: Create a Balanced Scent Profile
Achieving the ideal sauna aroma is an art. And it centers on balance. In this step, you'll discover the secrets to blending essential oils to craft a harmonious scent profile.
The Art of Blending
- Blending is about creating a synergy among your chosen essential oils. Each oil contributes its unique aroma and therapeutic benefits.
- Experiment with different combinations to find the perfect balance that resonates with your senses.
Consideration for Top, Middle, and Base Notes
- Use the roles of top, middle, and base notes. Craft a balanced composition by including oils from each category to shape a well-rounded aroma.
- Top notes provide an initial burst of freshness, middle notes offer complexity, and base notes gives your mix depth and longevity.
Start with Small Amounts
- Begin with small batches when experimenting with blends. This allows you to make adjustments and refine your composition as you go.
Record Your Formulations
- Keep a record of your blend formulations. Note the number of drops of each essential oil used and the dilution ratio.
- Document your successes (and not-so great successes) and preferences for future reference.
Personalization
- The beauty of crafting your essential oils lies in personalization. Tailor your blends to cater to your specific wellness and sensory preferences.
- Ultimately, your creations should enrich your overall sauna experience, and lead to unwinding, invigoration, or any wellness goal you may have.
This hands-on approach invites you to explore, experiment, and refine, and allows you to enjoy the aromatic abundance of your homemade products within the comforting embrace of your home infrared sauna.

Recipes for Sauna Aromatherapy Blends
Here we present four thoughtfully crafted aromatherapy blend recipes for your sauna experience. These recipes cater to specific wellness needs, providing stress relief, invigoration, respiratory support, and muscle relaxation. Each recipe includes clear steps and the reasoning behind essential oil choices.
However, don't stop here. Feel free to experiment and create your unique blends to suit your preferences and goals. The internet offers a wealth of information and inspiration for your aromatic journey in your home infrared sauna. Explore, craft, and enjoy the limitless possibilities of essential oil blending.
Recipe 1: Stress Relief Blend
- Combine 3 drops of Lavender Oil (middle note) with 2 drops of Frankincense Oil (base note).
- Dilute the blend with 10 ml of your chosen carrier oil.
- This blend promotes relaxation and eases stress, creating a tranquil sauna experience.
Recipe 2: Invigorating Energizer Blend
- Blend 3 drops of Peppermint Oil (top note) with 2 drops of Eucalyptus Oil (top note) and 2 drops of Citrus Oil (Lemon, Orange, or Grapefruit - top note).
- Dilute the blend with 10 ml of your preferred carrier oil.
- This invigorating blend revitalizes your senses, providing a burst of energy during your sauna session.
Recipe 3: Respiratory Support Blend
- Mix 3 drops of Eucalyptus Oil (top note) with 2 drops of Tea Tree Oil (middle note).
- Dilute the blend with 10 ml of carrier oil.
- This blend opens up the airways and promotes clear breathing, making it ideal for sauna sessions when you need respiratory support.
Recipe 4: Soothing Blend for Muscle Relief
- Combine 3 drops of Birch Oil (base note) with 2 drops of Chamomile Oil (middle note).
- Dilute the blend with 10 ml of your chosen carrier oil.
- This soothing blend is designed to ease muscle tension and promote relaxation after a strenuous sauna session.
Using Your Aromatherapy Oils in the Sauna
To seamlessly incorporate these carefully crafted aromatherapy oils into your sauna sessions, we recommend referring to our detailed guide on ‘How To Use Aromatherapy In Infrared Saunas’. This guide will provide you with valuable insights and safety tips for maximizing the benefits of your homemade blends, ensuring a safe and enhanced sauna experience.

Storage and Maintenance
Ensuring the longevity and effectiveness of your homemade aromatherapy oils is essential. Hereby we’ll share the best practices to help you preserve the therapeutic properties of your oils.
Dark Glass Bottles: Store your aromatherapy oils in dark glass bottles to protect them from light exposure, which can cause oils to degrade.
Cool and Dark Place: Keep your oils in a cool, dark place, away from direct sunlight and heat sources. A pantry or cupboard is ideal.
Tightly Sealed Lids: Ensure that the bottles are tightly sealed to prevent air from entering, which can lead to oxidation.
Labeling: Label each bottle with the name of the blend, date of creation, and a list of the essential oils used.
Carrier Oil Selection: Carrier oils can also go rancid, so choose carrier oils with a longer shelf life, such as jojoba or grapeseed.
Note that it is advisable you maintain your sauna's aromatherapy equipment well:
- Regularly clean the equipment used in your sauna for aromatherapy, such as diffusers or oil holders.
- Follow recommended dilution guidelines to prevent clogs or buildup in your equipment. Overly concentrated oils can lead to residue.
- Periodically inspect your equipment for any leaks or spills. Clean up any oil spills promptly to prevent staining or damage.
- If your aromatherapy equipment uses wicks or pads, replace them form time to time to maintain the purity of your oils.
- Ensure proper ventilation in your sauna to disperse the aromas effectively and prevent the accumulation of oil residue.
A detailed guidance on how to keep your infrared sauna clean, you can find in our article on maintenance.
If you'd like to boost your sauna sessions even further, you could think of adding elements like mood lighting or calming music. Such additions can transform your session into a journey of luxurious comfort and rejuvenation.
Crafting your own essential oils for your home infrared sauna lends a very personal touch to your retreat. Let your creativity and intuition inspire you to develop scents that bring you peace and joy.
For further reading into DIY aromatherapy, essential oil safety, and the art of blending, we recommend visiting Aromaweb [1]and the National Association for Holistic Aromatherapy [2].

Diane Sargent
References
1. Aroma Web, Objective Insights into Essential Oils & Aromatherapy, https://www.aromaweb.com/
2. National Association for Holistic Aromatherapy, https://naha.org/
Found this helpful? Here are some more articles you'll love


